Why CLC Blocks Collapse in the Mould: A Practical Troubleshooting Guide
A CLC block that sinks in the mould, cracks before cutting or loses its shape during demoulding is not automatically an equipment failure. The same visible defect can begin with raw-material variation, inaccurate water, unstable foam, the wrong mixing sequence, an unsuitable waiting time or an uncontrolled curing environment. The fastest route to a stable line is therefore not to change several settings at once. Record the symptom, preserve one baseline batch and check the process in a fixed order. This guide explains the information a production team should collect before changing the formula or replacing machinery. The featured image is an AI-generated editorial illustration…
A CLC block that sinks in the mould, cracks before cutting or loses its shape during demoulding is not automatically an equipment failure. The same visible defect can begin with raw-material variation, inaccurate water, unstable foam, the wrong mixing sequence, an unsuitable waiting time or an uncontrolled curing environment.
The fastest route to a stable line is therefore not to change several settings at once. Record the symptom, preserve one baseline batch and check the process in a fixed order. This guide explains the information a production team should collect before changing the formula or replacing machinery.
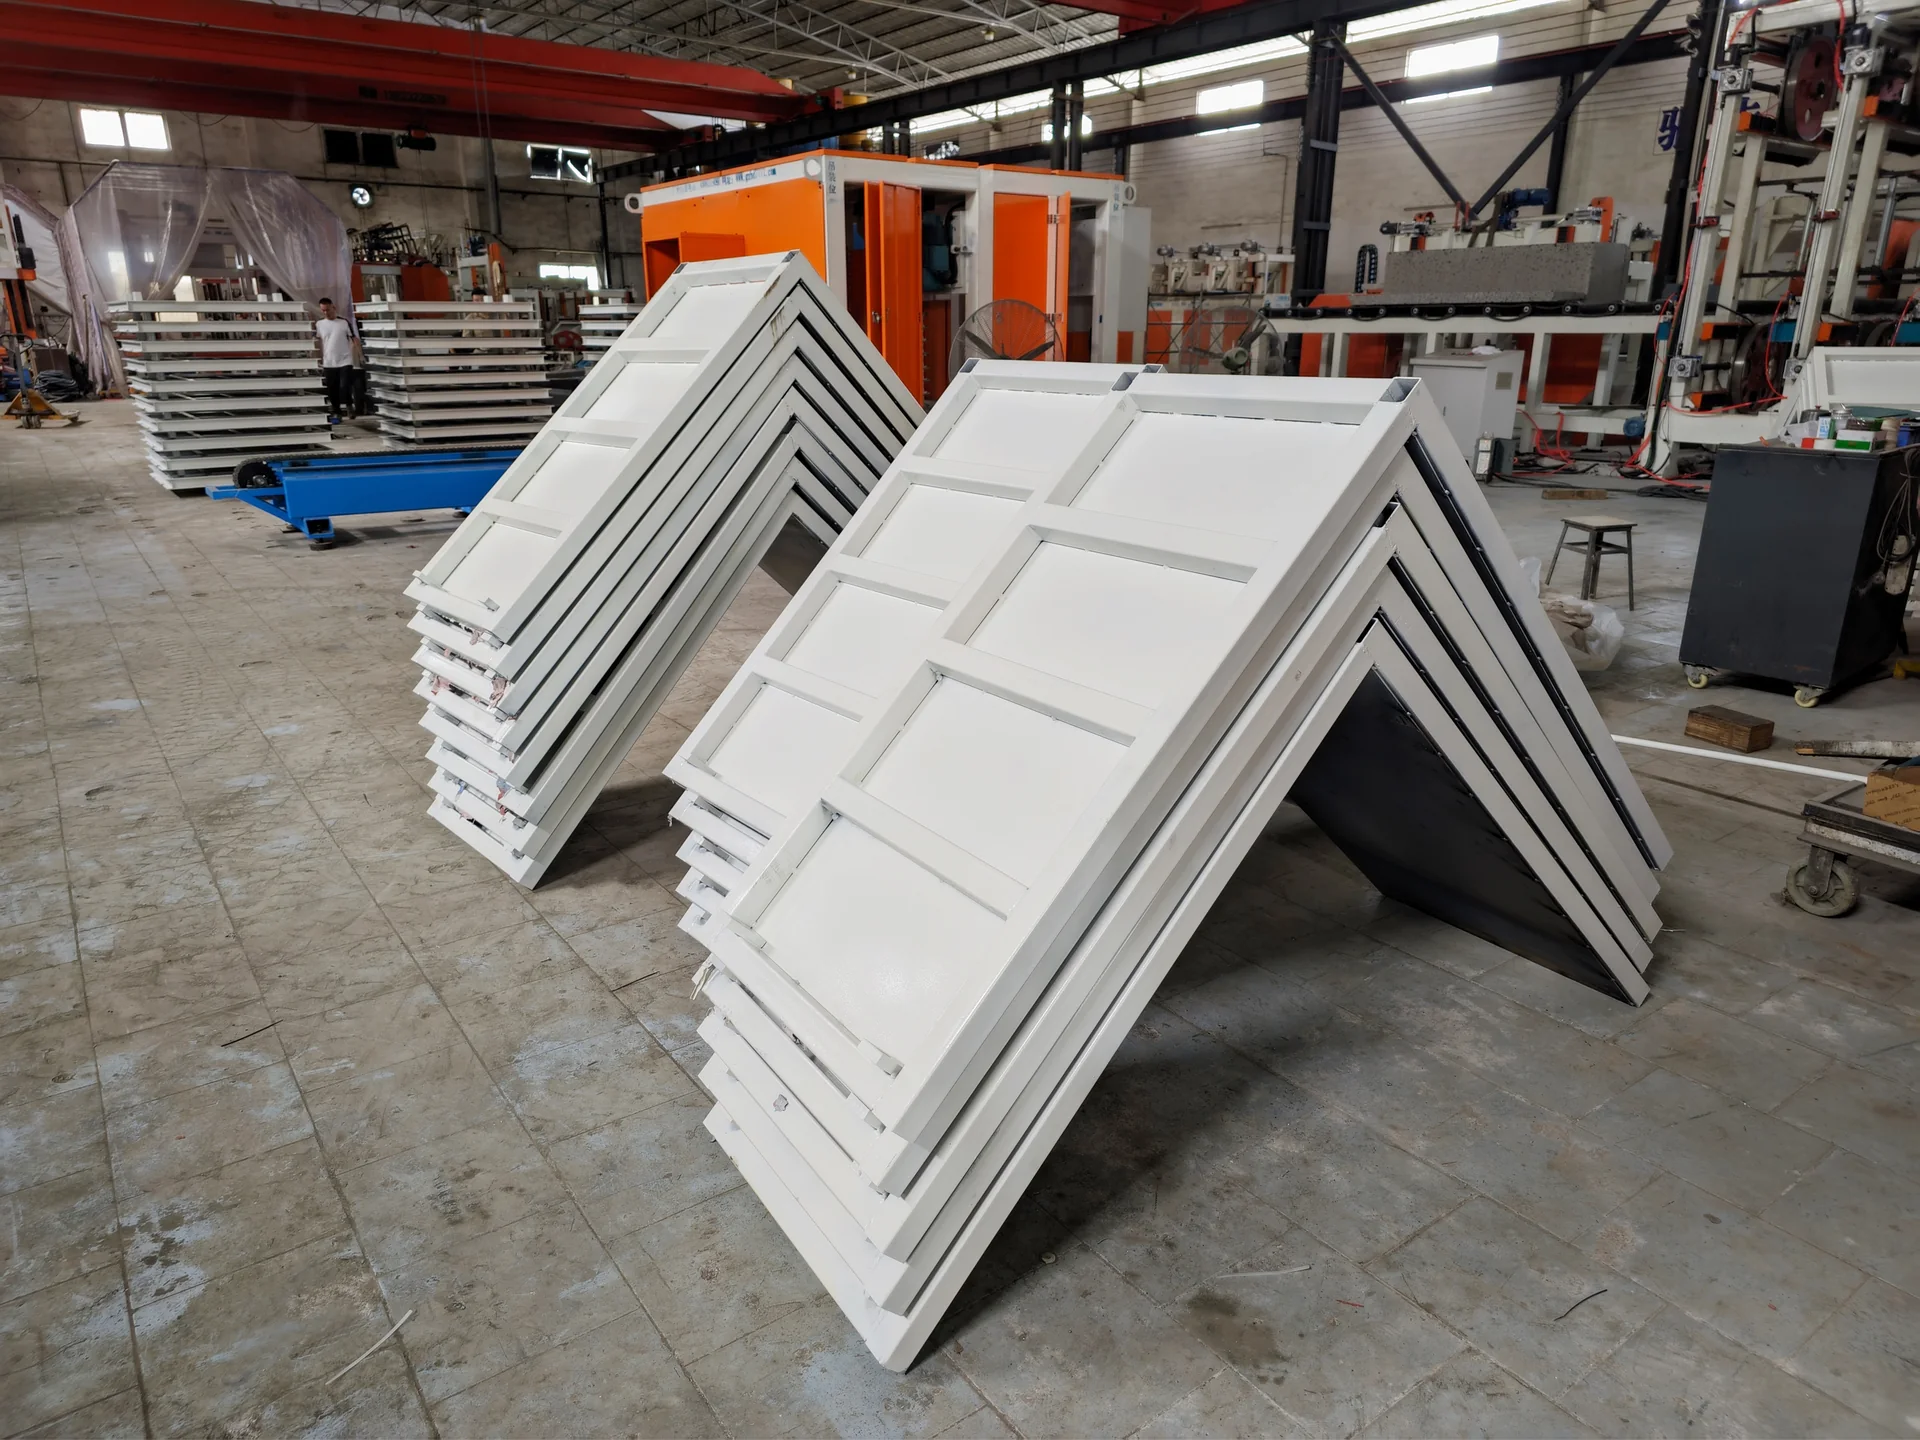
The featured image is an AI-generated editorial illustration of a troubleshooting sequence. It is not a customer-site photograph, production guarantee or final engineering drawing. Real HENGDE equipment photographs are identified below.
First identify when the block loses stability
“Mould collapse” can describe different events. A billet may sink immediately after pouring, settle during the first curing period, crack when it is moved, or deform only during demoulding. These events have different likely causes.
Record the time between mixing, pouring, visible expansion or settling, initial set, demoulding and cutting. Photograph the top, sides and internal pore structure. If the problem occurs only in one mould position or one shift, also record the operator, ambient conditions and equipment used for that batch.
1. Check whether the raw materials have changed
Cement type, sand grading, fly-ash moisture, mineral additions, foaming agent and water quality can change how a CLC mixture behaves. A supplier name alone is not enough: different deliveries from the same supplier may still have different moisture, fineness or reaction characteristics.
Keep a retained sample from each delivery and compare problematic batches with a known stable batch. Before setting equipment parameters, use a raw-material assessment to define which materials need laboratory or small-batch trials. Do not transfer a formula from another country without checking local inputs.
2. Verify water measurement instead of judging by appearance
Extra water may make slurry easier to move, but it can also reduce early stability and change setting time. Too little water may prevent uniform mixing or create local dry material. Both conditions can affect pore distribution and the strength of the green body.
Check the water meter, pipe condition, pulse output and any manual additions. Record total water rather than only the setpoint displayed to the operator. Moisture already present in sand or other wet materials must be considered when comparing batches.
3. Evaluate foam quality and dosage as a controlled input
Physical foam should be treated as a measured production input, not simply as a visual layer of bubbles. Air pressure, water, foaming-agent concentration, temperature and delivery stability all influence the foam entering the mixer.
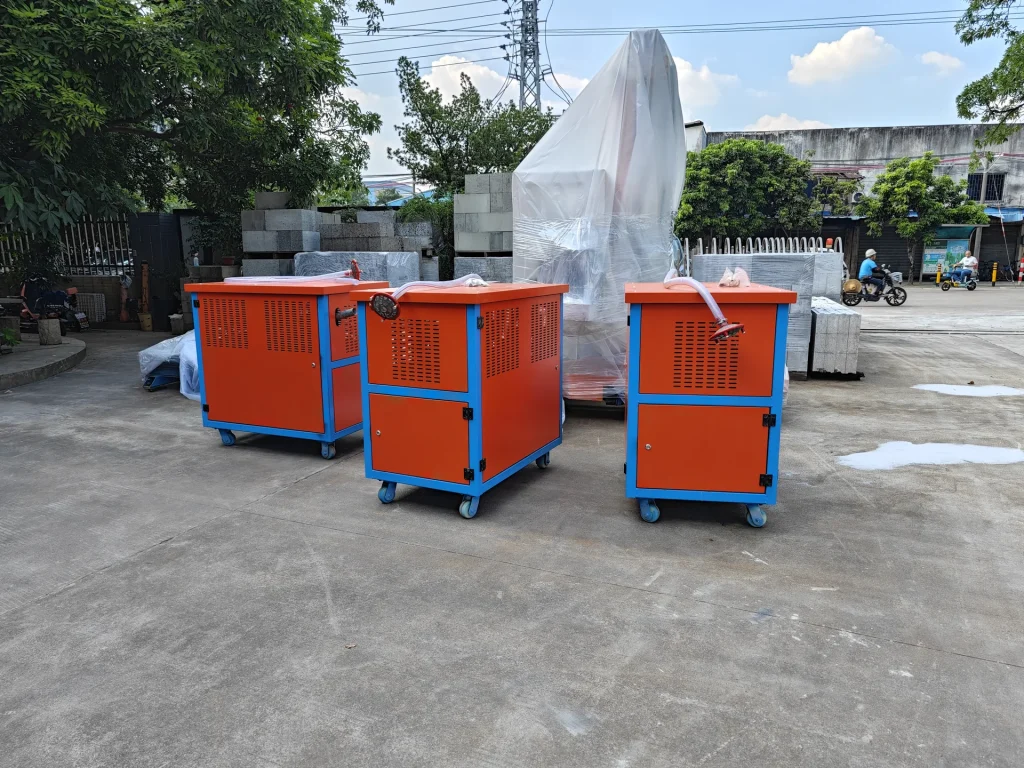
Inspect the physical foaming machine, compressor and delivery path together. A stable machine cannot compensate for an incorrect agent dilution, leaking connection or batch-to-batch change in the target density. Record the preparation method and actual foam produced for each test.
4. Check mixing order, duration and mixer loading
Adding the same ingredients in a different sequence can produce a different result. Mixing time that is too short may leave non-uniform slurry; excessive mixing after foam addition can damage the prepared pore structure. Overloading or underloading the mixer can also change circulation inside the vessel.
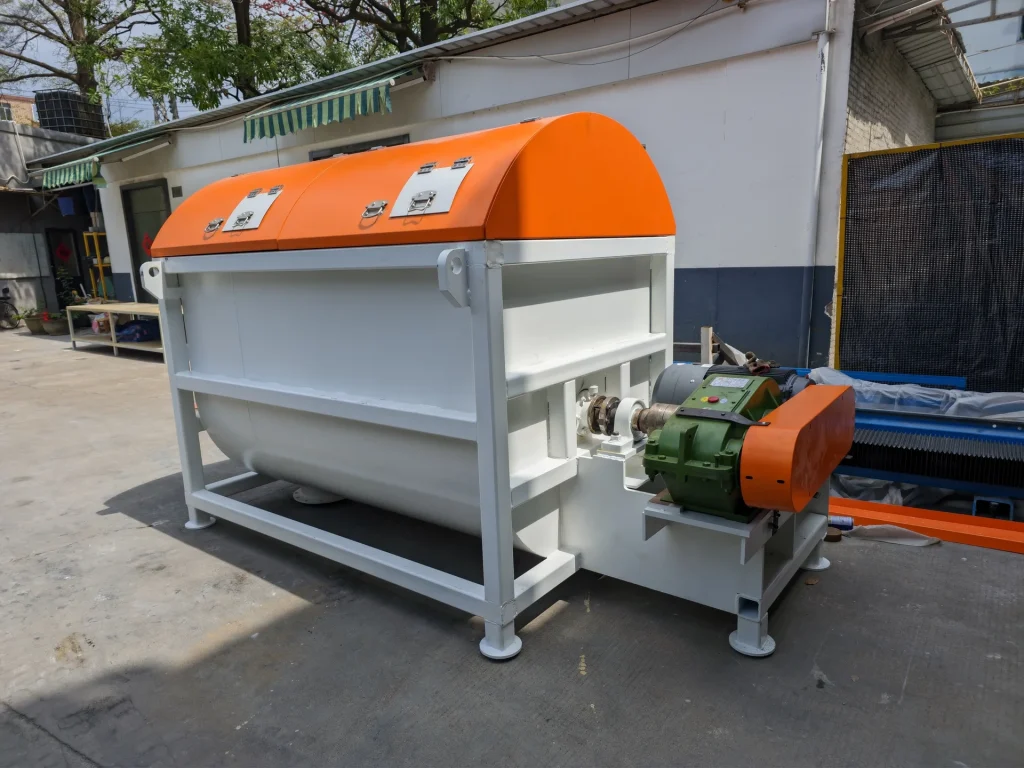
Use the mixer configuration intended for the confirmed batch volume. Record when each material enters, the mixing time before and after foam addition, the discharge time and any material left in the mixer. Compare only one controlled change per trial.
5. Inspect pouring and the mould before changing the recipe
A leaking mould, uneven base, excessive release agent or long delay between mixing and pouring can create a defect that resembles a material problem. Confirm that mould joints are sealed, the base is level and the filling sequence does not trap large voids.
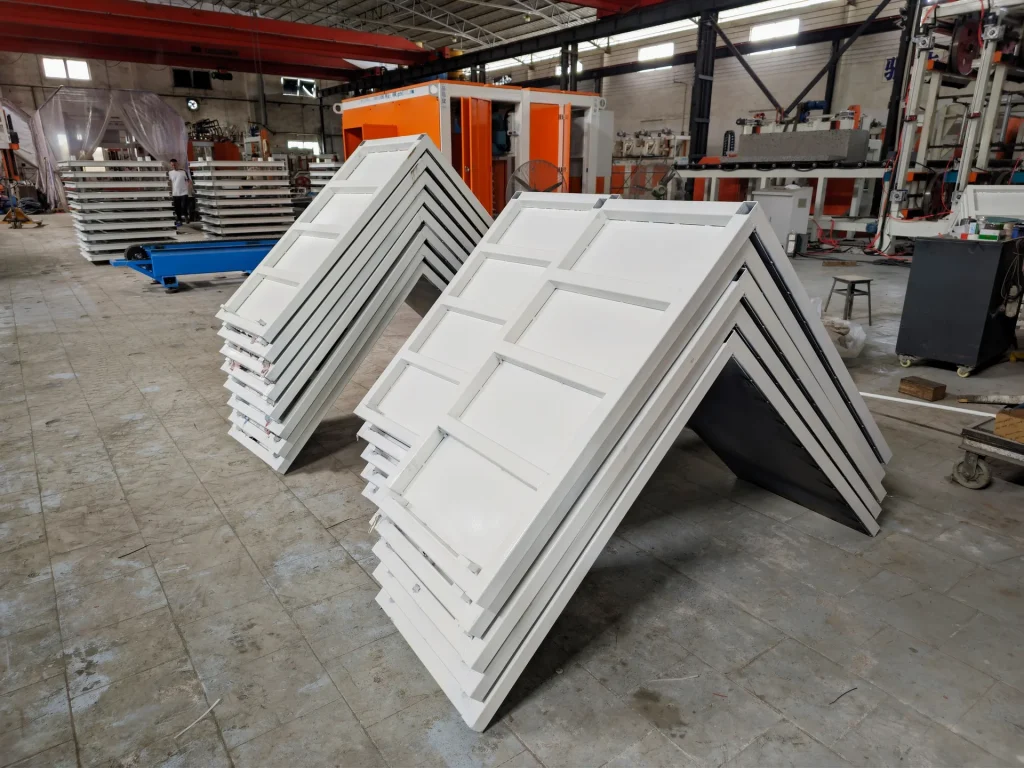
The block mould must match the billet geometry and handling method. Check whether vibration, impact or movement occurs before the green body has enough stability. If only certain moulds fail, inspect those moulds and their position before changing the whole line.
6. Review pre-curing conditions and demoulding time
Temperature, airflow and humidity influence early strength development. A waiting time that worked in one season may not remain suitable when the workshop becomes colder, hotter or more exposed to wind. Moving or demoulding too early can damage an otherwise correct batch.
Record workshop temperature and the actual curing position, not just outdoor weather. Establish a practical readiness check for demoulding and cutting instead of relying only on a fixed clock time. If a factory changes its billet size, the thermal and curing behaviour may also change.
7. Separate a process problem from a cutting problem
A weak billet may break on any cutting machine. Conversely, a stable billet can still show deviation, vibration marks or high loss when the cutting frame, supports, tools or feed motion are unsuitable. Test the green body condition before and after transfer to locate where the defect begins.
The CLC block production route connects batching, physical foaming, mixing, moulding, curing and cutting. Changing only the final machine will not correct an unstable upstream process, while repeatedly changing the recipe will not correct mechanical cutting deviation.
A disciplined troubleshooting sequence
- Freeze one known formula and record every actual input.
- Confirm raw-material delivery, moisture and retained samples.
- Calibrate water and other metering devices.
- Record foam preparation, air pressure and delivered quantity.
- Standardise mixing order, duration, loading and discharge.
- Inspect mould sealing, level, filling and early movement.
- Record curing conditions and readiness before demoulding.
- Evaluate cutting only after confirming green-body stability.
This sequence prevents a factory from changing several variables and losing the evidence needed to identify the real cause.
What to send HENGDE for a remote review
Send the project country, product dimensions, target density, raw-material list, current formula, batch volume and the exact time at which the defect appears. Include short videos of foaming, mixing, pouring, the failed mould and cutting; add photographs of the pore structure and broken surfaces.
HENGDE can then review whether the next step should be a controlled material trial, meter calibration, operating adjustment, mixer or foaming-system change, mould correction, or a cutting-system assessment. For a new factory, the 100 m³/day CLC reference line shows how these stages connect. For an existing problem, submit the production information for an engineering review before purchasing replacement equipment.
Final capacity, process and equipment configuration require project-specific engineering verification.
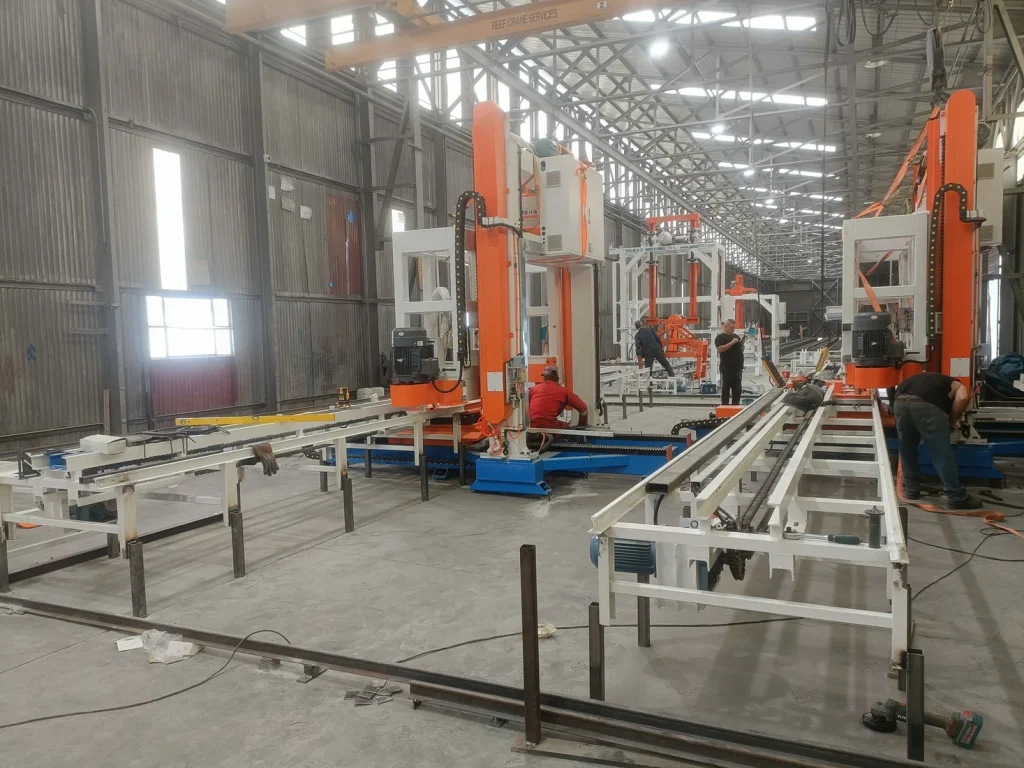
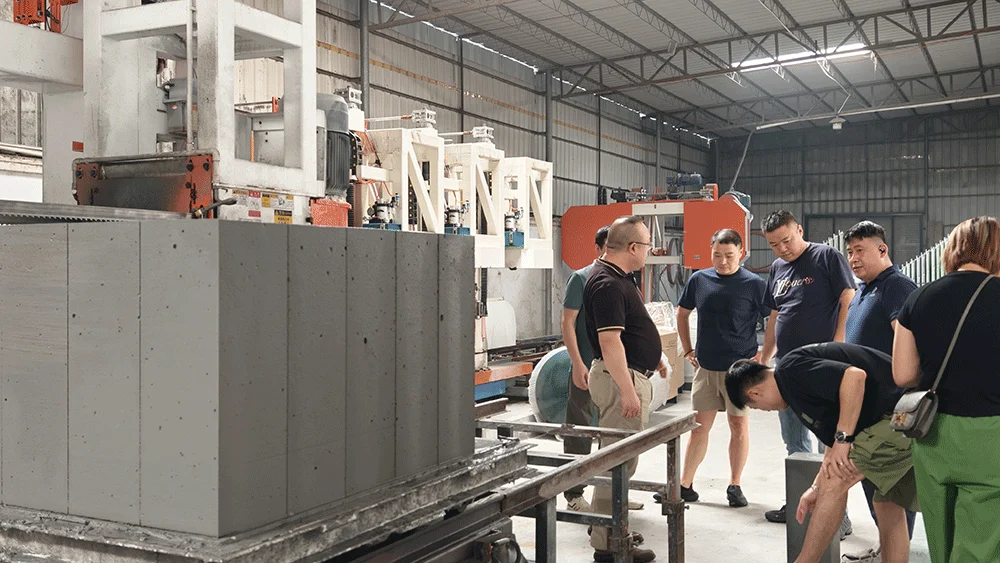
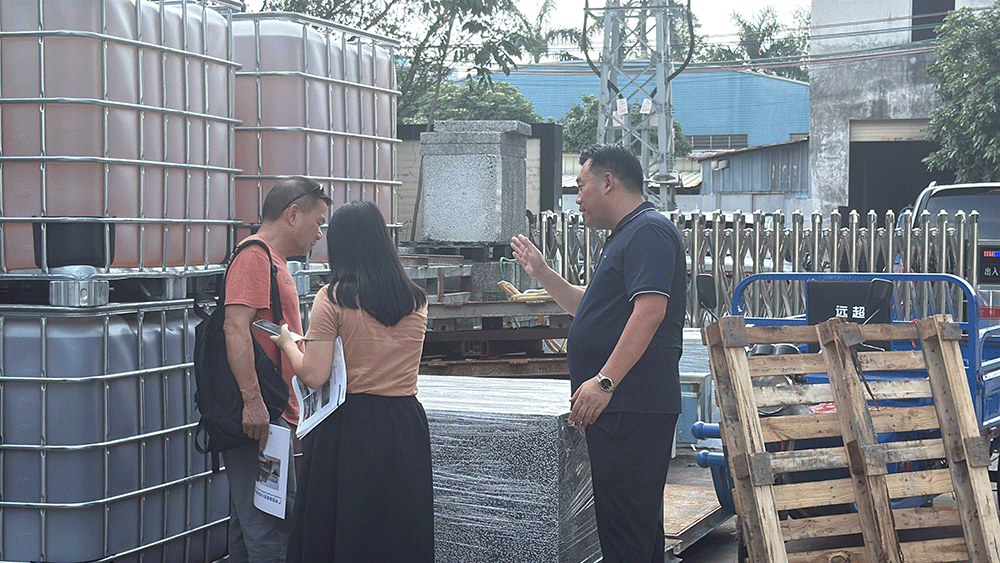
REAL HENGDE REFERENCE
Equipment, project or engineering evidence
Discuss your production line project with HENGDE.
Share your product, project location, target output and available materials with the HENGDE team.
Discuss Your Project